Whatsapp Integration
Whatsapp notifications can be sent to clients, through our courier mobile application, to inform them about delivery or pickup times. Here is what you need to do in order to set up Whatsapp Notifications: First of all, in the web interface go to the Settings>Rights. You can either pick a specific user (by choosing to see the users in a group and then clicking on their name) or apply this change to a whole group (such as courier, or dispatch) by clicking on the group name.
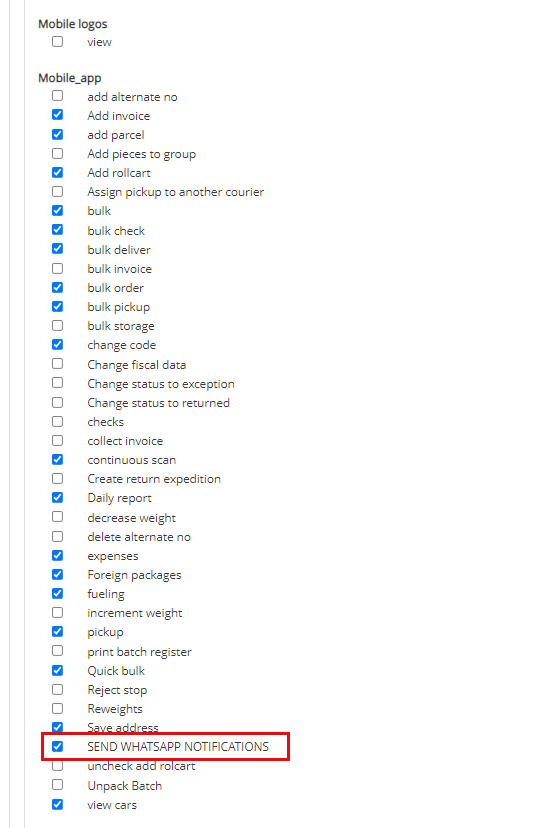
Go to the Mobile_app section and check the SEND WHATSAPP NOTIFICATION box. Only after allocating this right to a user or a group of users, will they be able to see the Whatsapp message button in the mobile app.
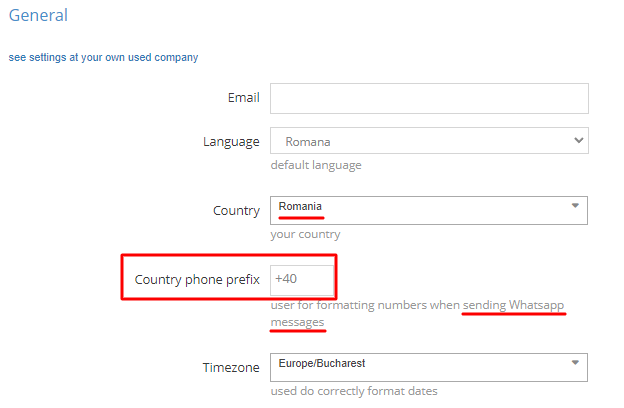
Users can send messages to both senders and receivers. To make sure messages will be sent, admins need to set the country phone prefix properly in the Settings page of the web application (the example below is for Romania: +40).
You can set different messages for the sender and receivers on the user's company page (go to Company>My companies>click the edit pencil button belonging to the company you want to make the changes to) by completing Whatsapp sender notification message and Whatsapp recipient notification message fields. These fields also accept two variables: $client and $options.

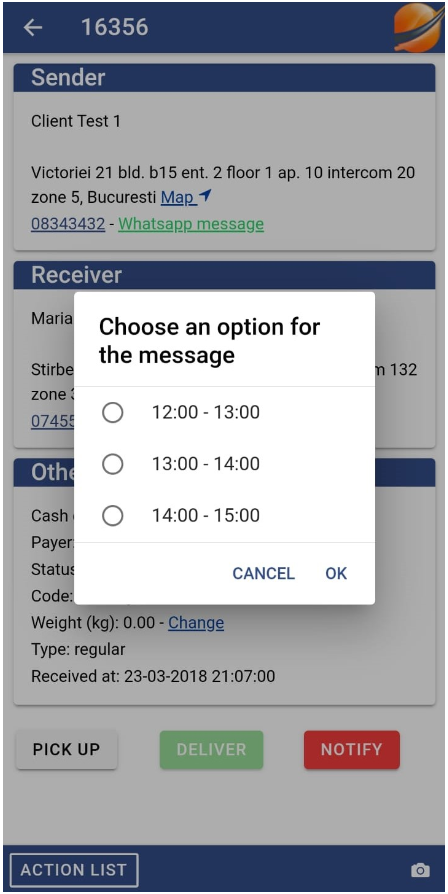
The $client variable will replace the $client text with the name of the expedition client. For example, if the value of Whatsapp sender notification message is “The expedition from $client will be delivered within next hour” and the client name is John Doe, the final message will be “The expedition from John Doe will be delivered within next hour”. The $options variable allows the user to pick from multiple options to alter a part of the message. For example, it can be useful to define some delivery intervals (14:00 – 15:00, 15:00 – 16:00, etc.). To use it, you’ll have to add options in the Whatsapp options field, separated by comma.